nengi Intro 3: Code & Tour
Previous: nengi Intro 2: State & API Overview
It has come time to look at some real code. We'll start by downloading a barebone game template and taking a tour.
Each tutorial section corresponds to a branch in the nengi-tutorials repository. We'll add code to these projects in order to complete each section. At the end of each section we can either save our code or throw it away -- the next section begins with new code, often the code we just wrote in the previous tutorial.
Those who do not git can download the code from github instead of checking out the repository, which will work, but will be a bit slower going when it comes to switching to the code at the start of each section.
So let's begin!
Clone or download the following repository and switch to the `basics-1` branch: https://github.com/timetocode/nengi-tutorials
git clone https://github.com/timetocode/nengi-tutorials.git(or)
git clone git@github.com:timetocode/nengi-tutorials.gitSwitch to basics-1 branch
git checkout basics-1And then open up the project in your IDE of choice.
First Run
Make sure you're at a command prompt in the directory where the game lives. We need to install the the node modules, run the game, and then check that everything is working in a browser.
npm installnpm install will take a moment the first time
npm start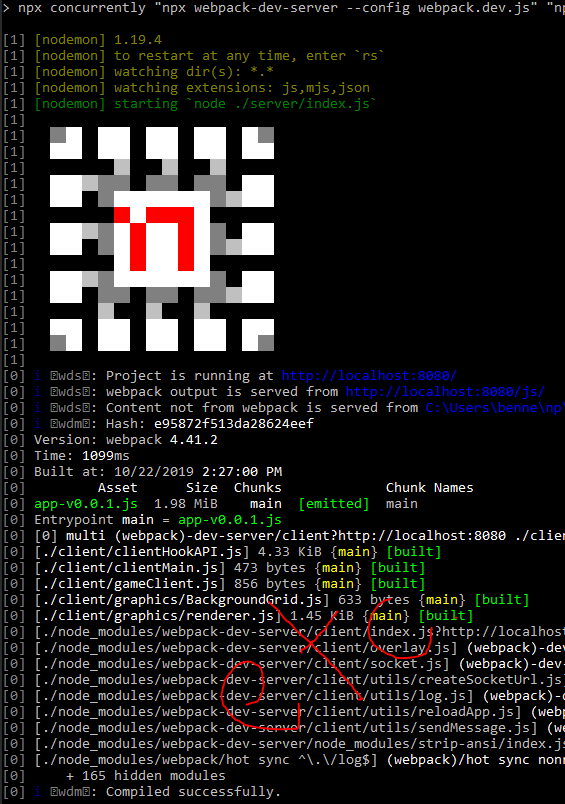
you should see the nengi logo fly by and some other text as webpack builds our game client
And then visit http://localhost:8080
Open the developer console, refresh the page, and you should see this
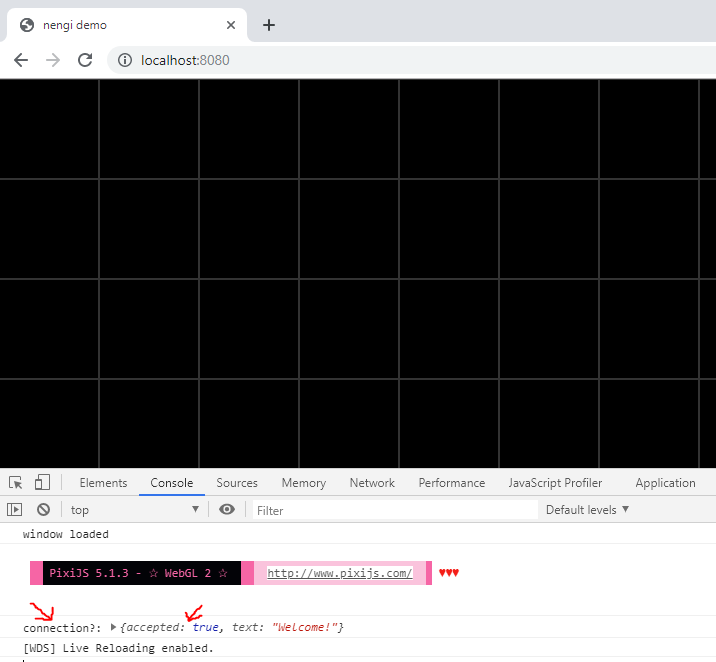
If you've made it here then everything is working and it's "TIME TO CODE" har har har!
Next: nengi Basics 1: Messages